Shopify Integration
Why Shopify

Shopify has more than 4.5 million stores running around the globe. With ongrowing 3D visualisation demand along with WebAR, this platform is itself a huge market. As a matter of fact, Shopify also offers 3D product visualisation. But if you are planning to use Shopify AR then you are limiting yout future scope of managing ecommerce platform. In future, if you move out to different ecommerce platform for any reason, you will completely lose the opportunity to carry forward the AR capabilities. Not to mention the time, effort and money will be gone along the process. Perhaps you need to build entire 3D ecommerce part from scratch in the new platform. This may not be a very desired situation for many.
This is where Marvin XR can add value to your ecommerce transformation. The platform agnostic WebAR solution has compatibility with more then global top 20 ecommerce platform including Shopify, BigCommerce, WooCommerce, Magento, Wix, Wordpress, Squarespace, PrestaShop and many others. Get the complete list here. Moreover the cost frinedly solution does not put pressure business budget while adopting it quickly.
Shopify Integration Steps
Marvin XR has now introduced easy WebAR integration with Shopify. It will take 2 minutes to integrate 3D preview with AR solutions ready for online e-comm shops. User can preview products in AR using browsers only, no apps needed.
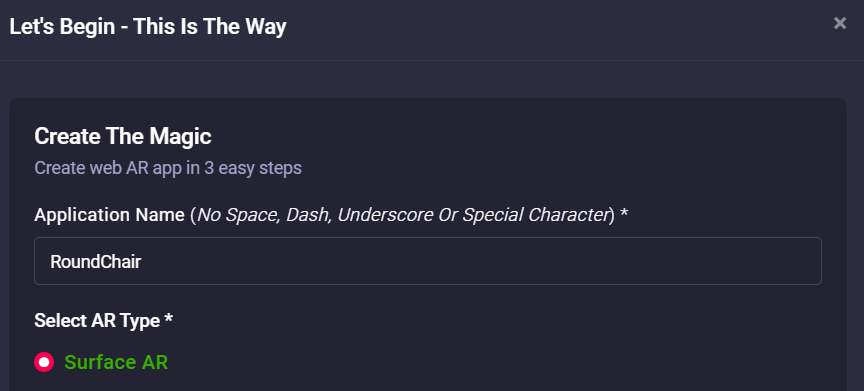
1. Create a Surface AR campaign. For product 3D-AR visualization, this is the most suitable AR experience for ecommerce.
2. Click View Details on your AR campaign card and go to AR Show menu.

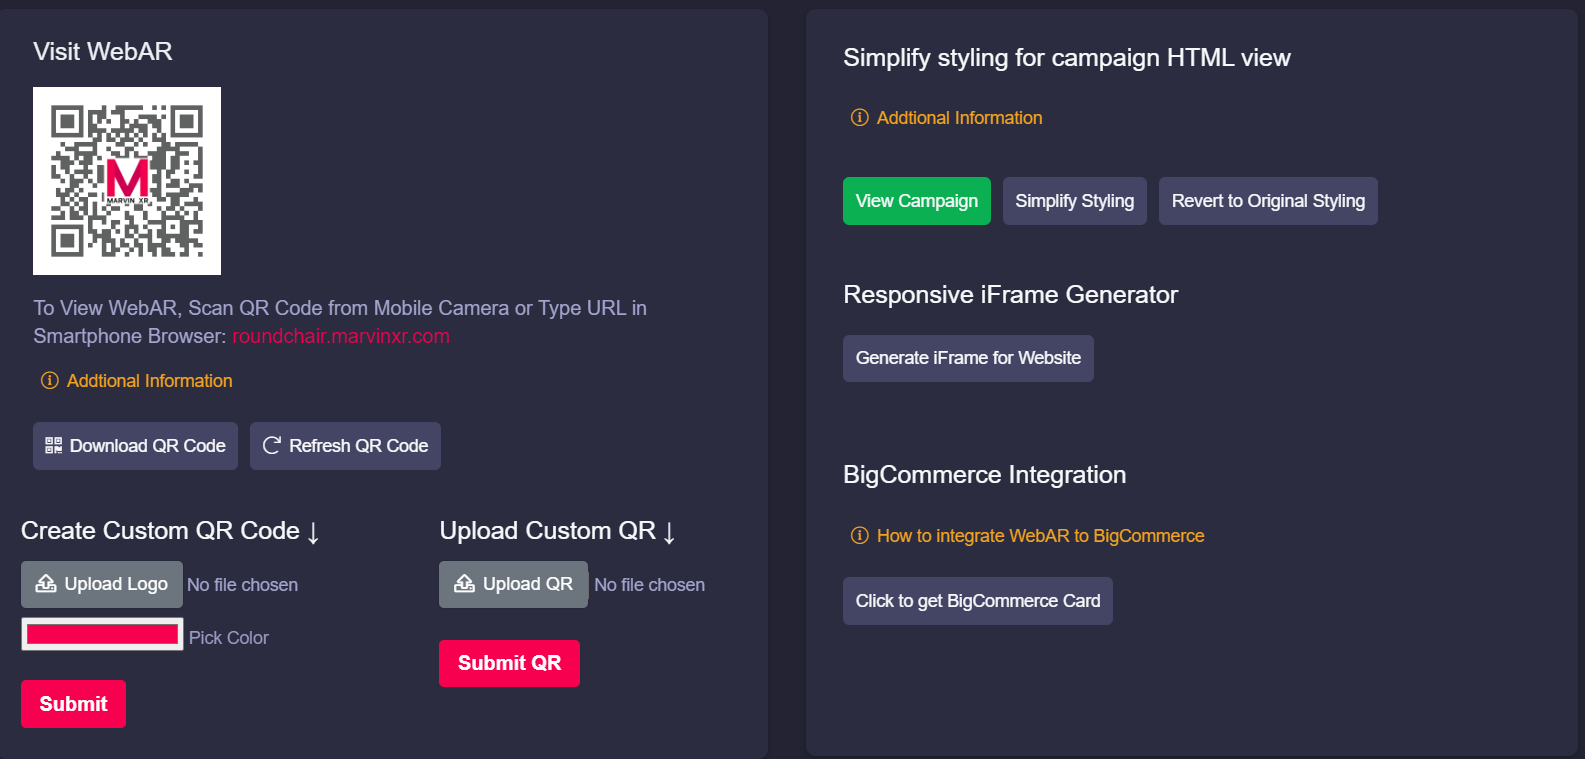
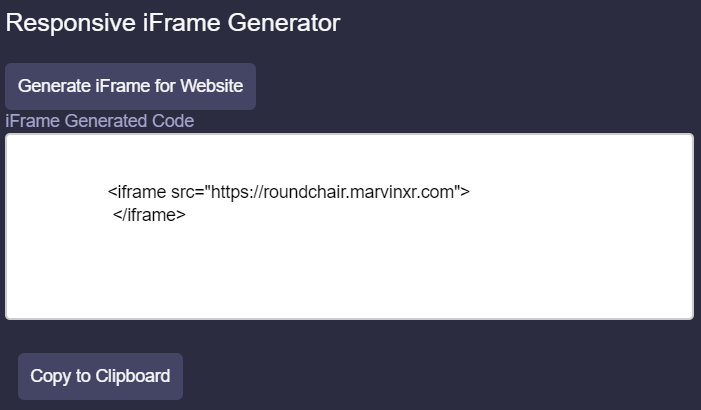
3. Click on Generate iFrame for Website to get the iFrame syntax. Click on Copy to Clipboard button.
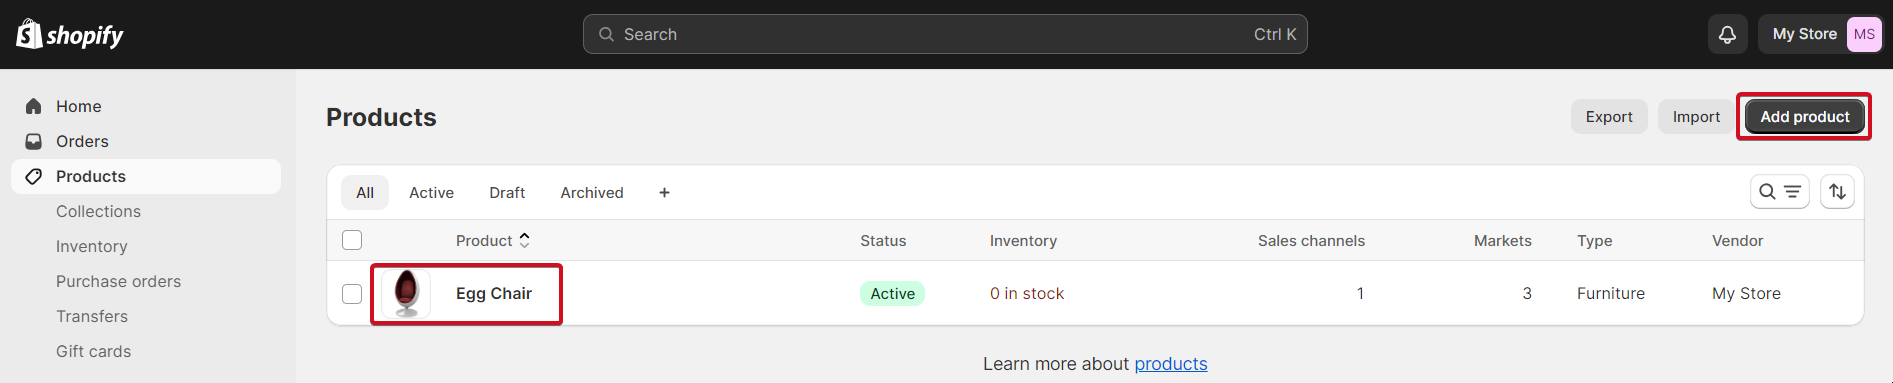
4. Go to your Shopify admin account and click on Products menu. If you want to add a new product, click on Add product button. If you want to add WebAR experience to existing product, select your product and click on it.
5. Go to the product description field and add the iFrame syntax there. Adjust iFrame height and width accordingly. Copy the below syntax and modify as per your requirement.
<iframe src="https://roundchair.marvinxr.com" style="height: 480px; width: 580px; overflow: hidden; border: 0;"></iframe>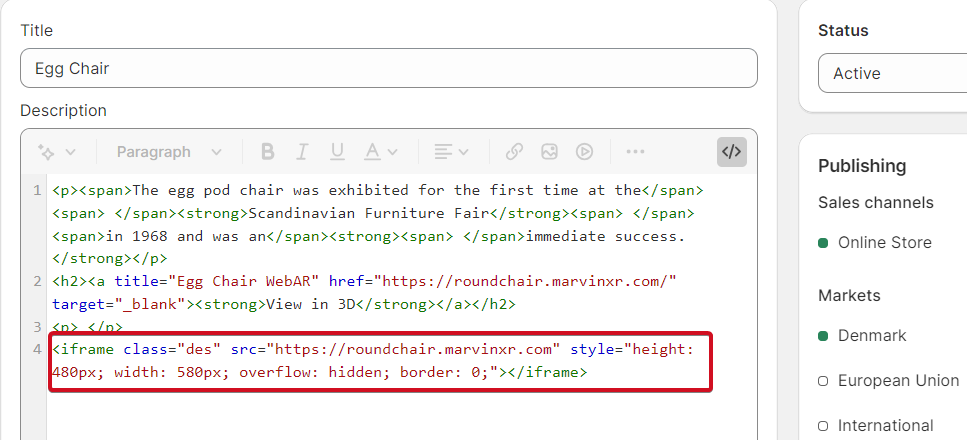
6. You can add link to text to be opened in the new window if needed.
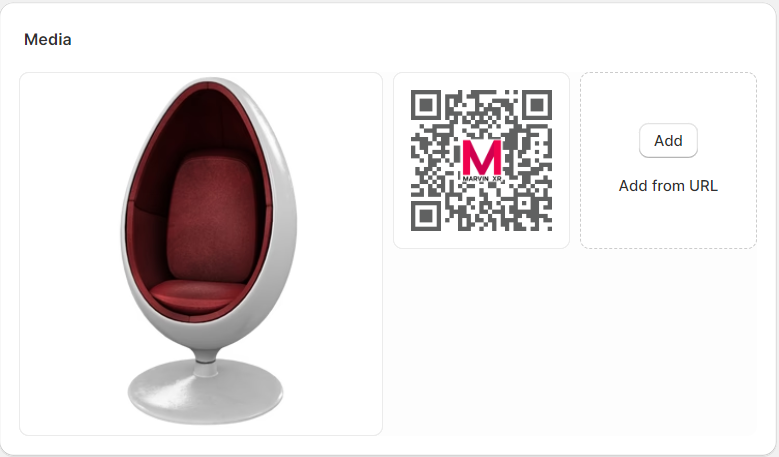
<h2><a title="Egg Chair WebAR" href="https://roundchair.marvinxr.com/" target="_blank"><strong>View in 3D</strong></a></h2>7. Add QR code to product image gallery if needed to let users scan them from desktop version.
8. Publish your changes and see WebAR get integrated to your Shopify store.
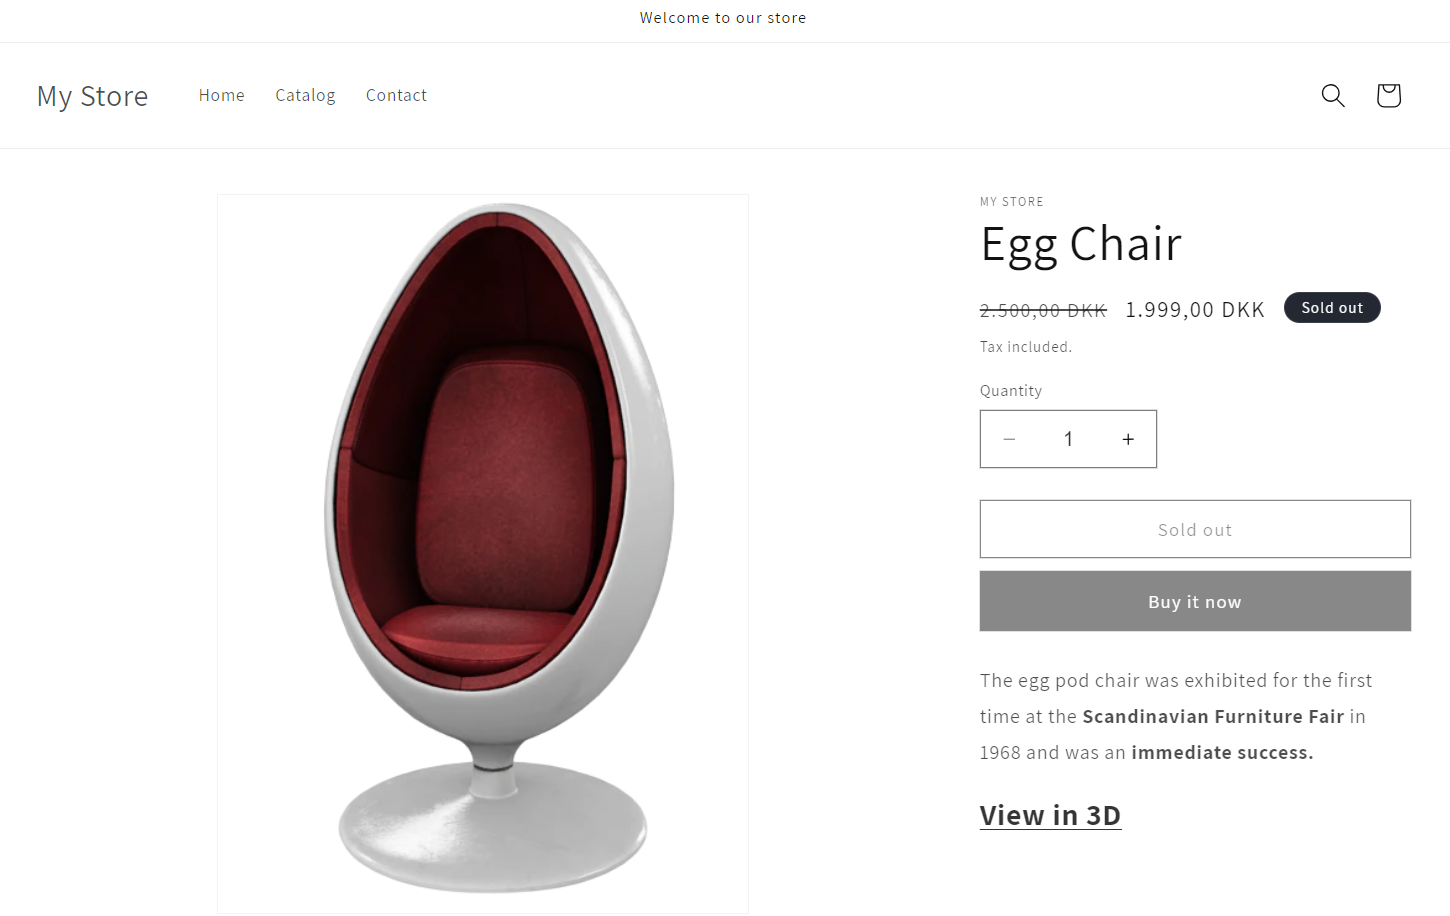
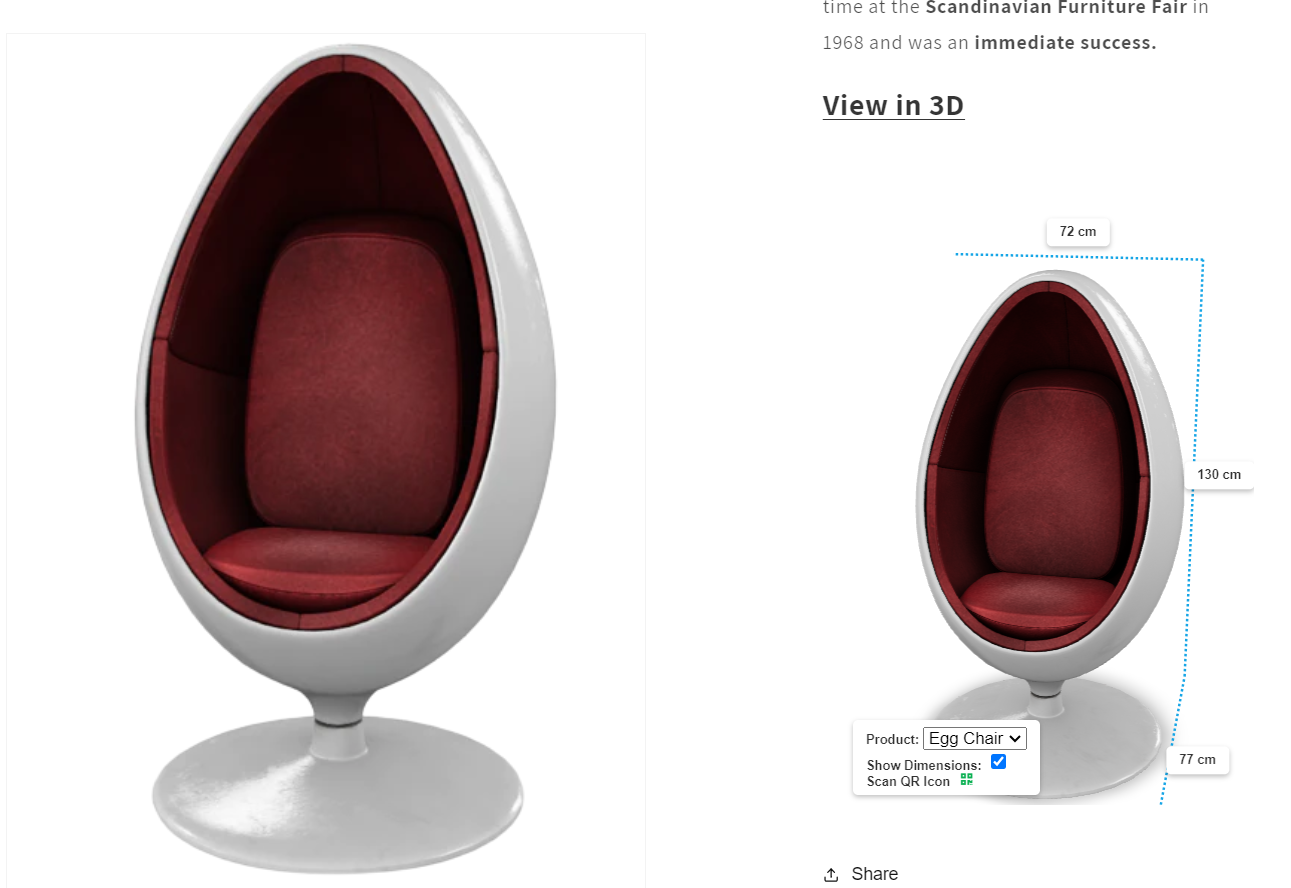
Congratulations! Now you have successfully integrated 3D AR view for your Shopify store. The iFrame address should point to the AR campaign. If you have a custom DNS mapped name, you can use it to the iFrame address too.
All the analysis will be collected inside Marvin XR campaign dashboard and insight for your reference. If you want to use AR campaigns in different channels at the same time, you can do it too. Now enjoy your Shopify store with next generation customer experience and see the revenue growth.